Remote Visualization (NICE DCV)
NICE DCV on Linux
M-Star Post has been tested and verified to work under the following environments:
NICE DCV 2020.0 (r8428) + NVidia 418.181 + Centos 7
NICE DCV 2020.2 (r9662) + NVidia 460.32 + Centos 7
NICE DCV 2020.2 (r9662) + NVidia 450.89 + Amazon Linux 2
NICE DCV Linux Quick Start AWS
This guide employs the ready-to-use AWS AMI image “NICE DCV for Amazon Linux 2” for quick set up and running DCV.
Note
This is intended only for running M-Star Post.
Create a new IAM Role called
DCVLicenseAccess. Replaceus-east-1with the region you are using:{ "Version": "2012-10-17", "Statement": [ { "Effect": "Allow", "Action": "s3:GetObject", "Resource": "arn:aws:s3:::dcv-license.us-east-1/*" } ] }In the EC2 Panel, launch a new AWS Instance.
Search for NICE DCV on the AMI page.
Select NICE DCV for Amazon Linux 2.
Select a g3s.xlarge Instance type, or something from the g3 or g4dn instance family. Click Next.
Select the DCVLicenseAccess IAM Role. Click Next.
Add some working storage: 100GB. Click Next.
There is nothing to do on the Tags page, click Next.
Configure Security group. Note that this is for testing only. Your Instance needs SSH and port 8443 access for DCV to work.
Allow SSH. Source: My IP
Allow Custom TCP Rule: Port 8443. Source: My IP
Review and Launch. Click Next to launch the Instance.
SSH to the Instance. The username is
ec2-user.Change your password:
sudo passwd ec2-user
Create a DCV virtual session:
sudo dcv create-session test --owner ec2-user
On your local PC
Download and install the NICE DCV Client (latest available).
Open the Client.
Enter the IP address, click Connect.
Click Trust.
Enter login information, username
ec2-user, and the password you just set.You should now see DCV show up.
For further instructions to test M-Star Post, see NICE DCV Client Connection Test.
NICE DCV Linux Manual Installation
This guide demonstrates how NICE DCV can be set up to work with M-Star CFD. These instructions will set up a Centos 7 machine with DCV.
Reference material:
https://docs.aws.amazon.com/dcv/latest/adminguide/what-is-dcv.html
https://docs.nvidia.com/datacenter/tesla/tesla-installation-notes/index.html#centos7
Operating conditions:
Centos 7 base install
NVidia Tesla M60 GPU
Set up the prerequisites for DCV according to the documentation:
sudo yum groupinstall "GNOME Desktop"
sudo reboot
Disable Wayland in the gdm configuration:
# edit /etc/gdm/custom.conf
[daemon]
WaylandEnable=false
Restart GDM:
sudo systemctl restart gdm
Set the graphical startup environment:
sudo systemctl set-default graphical.target
sudo systemctl isolate graphical.target
Install GLX Utils:
sudo yum install glx-utils
Install NVidia Drivers:
sudo yum install -y tar bzip2 make automake gcc gcc-c++ pciutils elfutils-libelf-devel libglvnd-devel iptables firewalld vim bind-utils wget
sudo yum install -y https://dl.fedoraproject.org/pub/epel/epel-release-latest-7.noarch.rpm
distribution=rhel7
ARCH=$( /bin/arch )
sudo yum-config-manager --add-repo http://developer.download.nvidia.com/compute/cuda/repos/$distribution/${ARCH}/cuda-$distribution.repo
sudo yum install -y kernel-devel kernel-headers
sudo yum clean expire-cache

# Install the driver. You can select a different driver if needed, eg., "nvidia-driver-branch-418".
# Otherwise this command just installs the latest, which is generally what you want.
# This command will take a few minutes to complete.
sudo yum install -y nvidia-driver-latest-dkms
sudo reboot

# update xorg.conf
sudo nvidia-xconfig --preserve-busid --enable-all-gpus
sudo systemctl isolate graphical.target
Install NICE DCV:
sudo rpm --import https://d1uj6qtbmh3dt5.cloudfront.net/NICE-GPG-KEY

# Download the DCV package from http://download.nice-dcv.com/
wget https://d1uj6qtbmh3dt5.cloudfront.net/2020.2/Servers/nice-dcv-2020.2-9662-el7-x86_64.tgz
tar xzf nice-dcv-2020.2-9662-el7-x86_64.tgz
cd nice-dcv-2020.2-9662-el7-x86_64

# Install base server
sudo yum install nice-dcv-server-2020.2.9662-1.el7.x86_64.rpm

# Install virtual sessions
sudo yum install nice-xdcv-2020.2.359-1.el7.x86_64.rpm

# Install GPU sharing
sudo yum install nice-dcv-gl-2020.2.881-1.el7.x86_64.rpm

# Setup DCV service
sudo systemctl start dcvserver
sudo systemctl enable dcvserver
Set up your DCV configuration. You can refer to our sample DCV configuration here. This particular configuration has no authentication methods and creates a default console session, so you don’t need to manage virtual sessions separately. This is only meant for testing purposes. You should customize this configuration according to your own production environment needs. Be sure to restart the DCV server after making configuration changes.
Setup your DCV license. Please refer to the DCV documentation for further instructions related to license setup.
Verify your firewall allows traffic for TCP on port 8443. You can also disable the firewalld service entirely by running:
sudo systemctl stop firewalld
sudo systemctl disable firewalld
Tip
After these steps you may need reboot the server.
NICE DCV Client Connection Test
On your local PC, install the corresponding DCV client program that matches the server version you installed. https://download.nice-dcv.com/
Open the DCV Client program, and enter the IP address or host name of the server.
When the desktop opens up, open a command terminal.
Download and extract M-Star CFD:
cd
wget https://cdn.mstarcfd.com/2.11.11/mstarcfd-2.11.11-oracle7_openmpi-3.1.tar.gz
mkdir 2.11.11
cd 2.11.11
tar xzf ../mstarcfd-2.11.11-oracle7_openmpi-3.1.tar.gz
Browse to the M-Star install directory and start up M-Star Post:
cd ~/2.11.11
source mstar.sh
MStarPost
You should see M-Star Post start up.
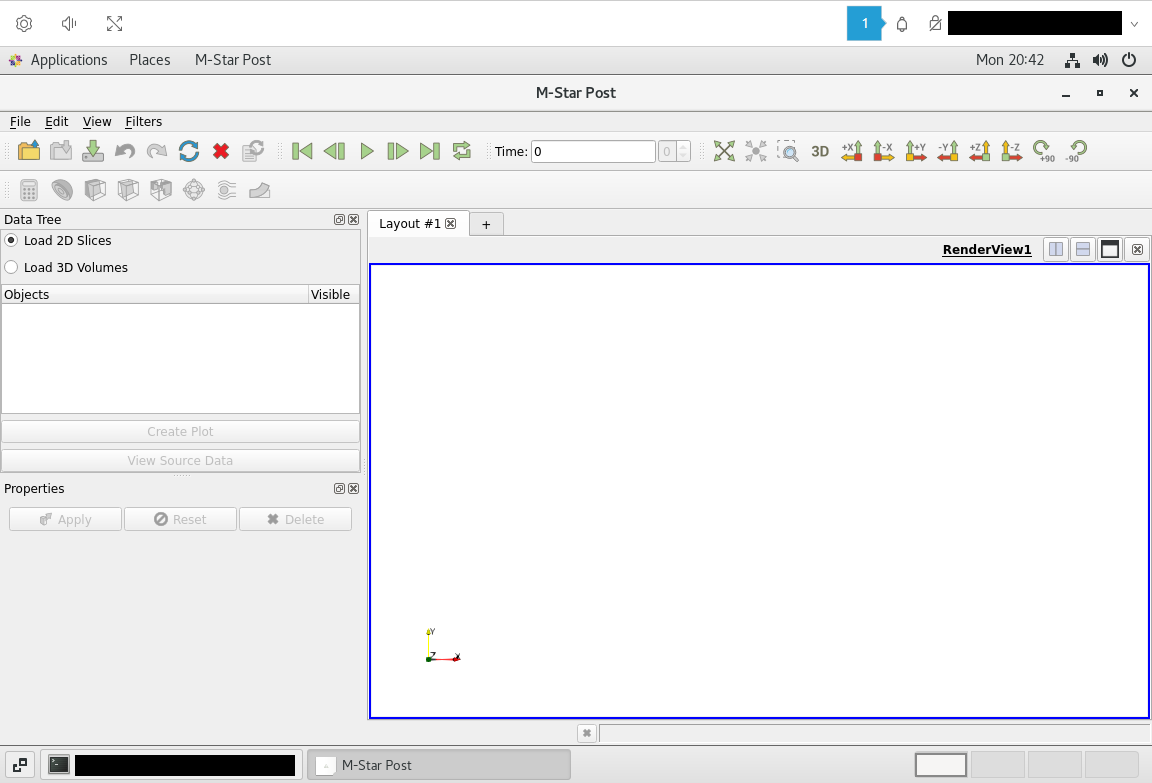
If you do not see the Data Tree panel, you can enable it in with the View / Data Tree menu toggle.
Close M-Star Post.
The remaining instructions will test loading sample results into M-Star Post.
Download sample case result data and extract the files:
# Sample case results of ~10s simulation time of the agitated case example at default resolution
wget https://cdn.mstarcfd.com/share/quick-test.zip
unzip quick-test.zip
Open M-Star Post again.
Select Open.
Browse to quick-test directory.
Select the Out directory and click OK.
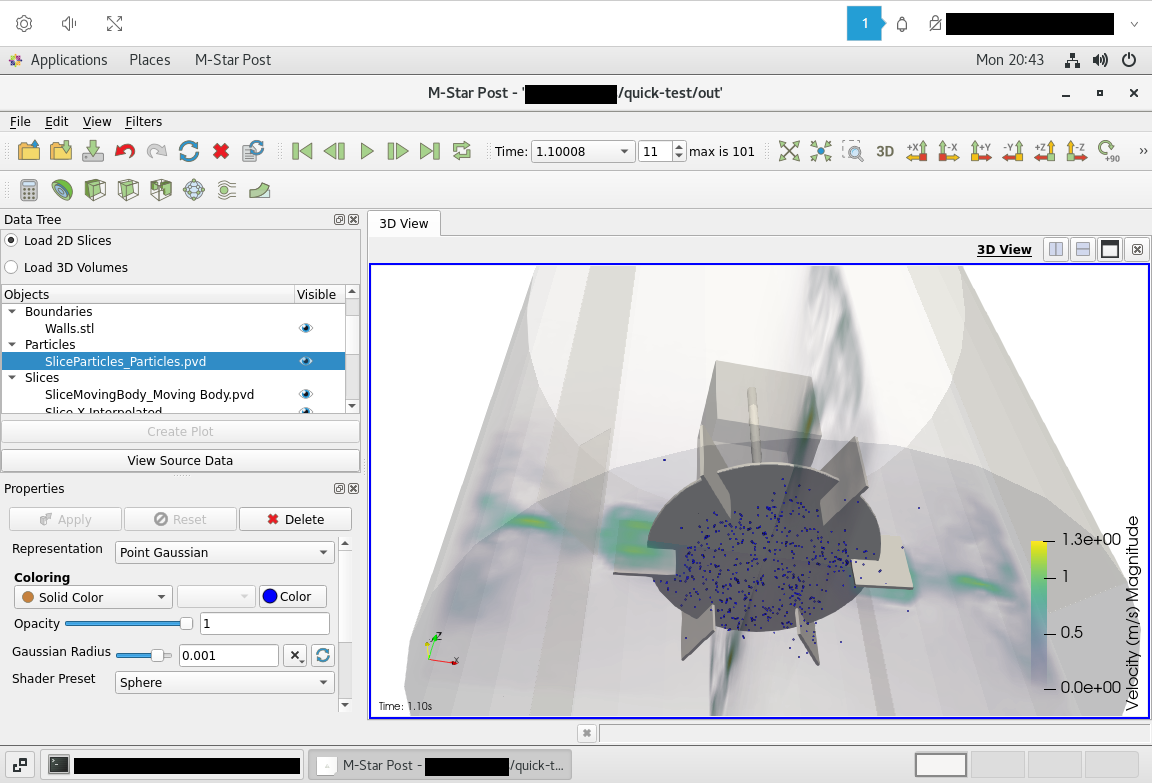
M-Star Post will load the data and display it.
Select Play to animate the data.
Interact with the 3D view by left-click + drag.